Quick! Before all those beautiful fall leaves get crunchy or covered by snow! Run out and gather a handful of the prettiest leaves to make this wreath.
I made a leaf wreath yesterday, inspired by online pal and brilliant contemporary basketmaking artist Kari Lønning. (Skip over to Kari’s Facebook page for examples of her work.) Here’s how I did it. Let me know what you think.

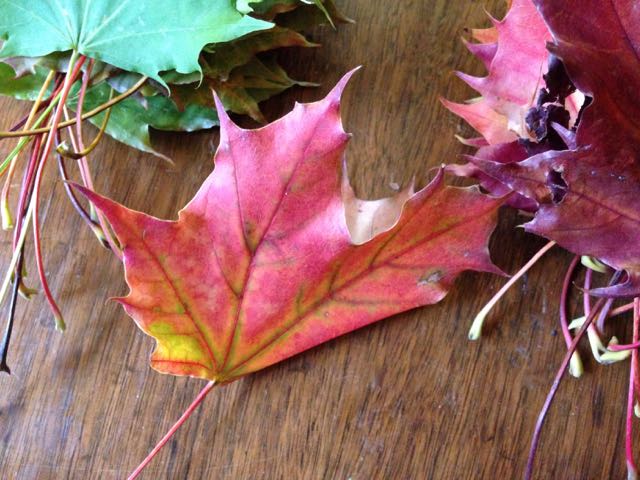
First, I gathered leaves, choosing a roughly equal number (by guesstimate at the time) of contrasting colours. But you might choose a different type of leaf. The smaller the leaf, the smaller the wreath. But longer stems are a must.
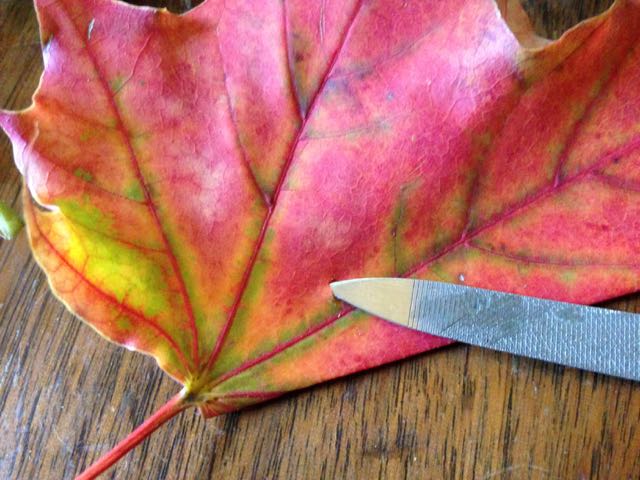
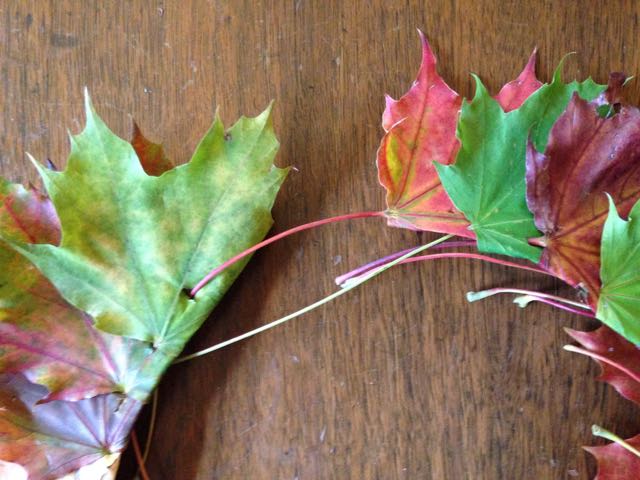
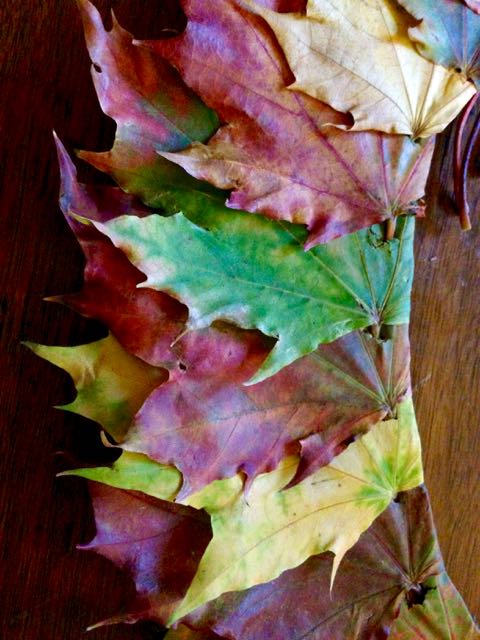
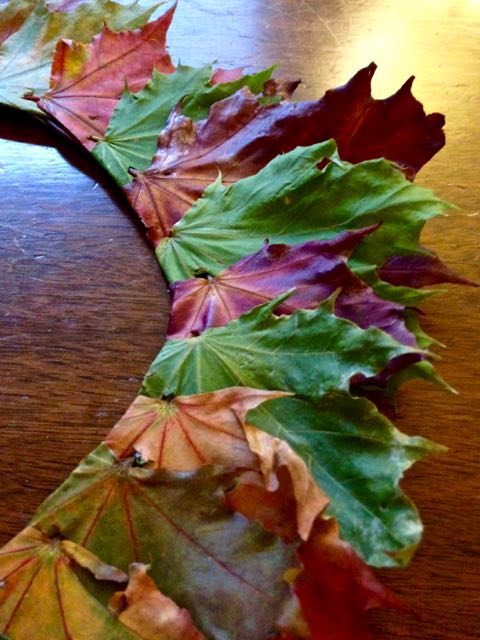
Start with one leaf, and fold it along one of the side veins – this will fan the leaves like a hand of playing cards as you go around. If there are no veins as a guide, just fold about one-third under. Then, use something sharp (like this nail file) to pierce the leaf through both layers, either above or below the main vein, depending on the leaf shape.
Take your next leaf – I alternated contrasting colours – and thread the stem through the hole, going from front to back. Fold the next leaf along the side vein, wrapping it under and around the leaf before. You’ll repeat these steps till you have the size you want. Every time you make a hole, pierce the previous leaf, too.
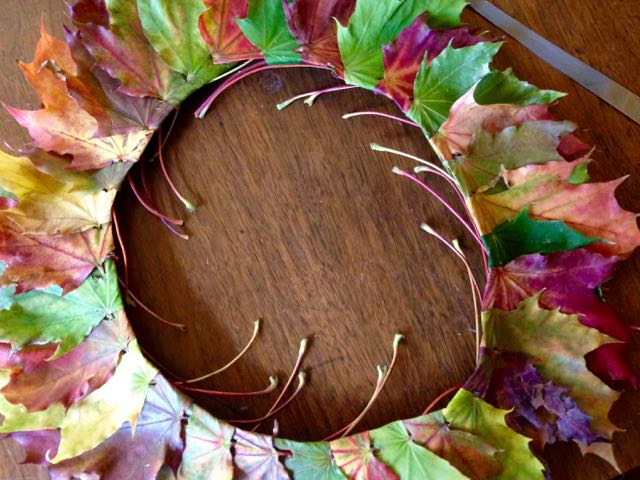
When your wreath is as large as you want, the last step is to thread the stem of the very first leaf into the hole you make in the very last leaf of your “leafy chain.” Again, you’ll thread it from front to back. At this stage, your wreath will look finished on top, but have leaf stems showing in the middle. Turn your wreath over carefully.
Note: I made a larger wreath than Kari’s inspiring examples. I’ll go over good and bad things about this later.
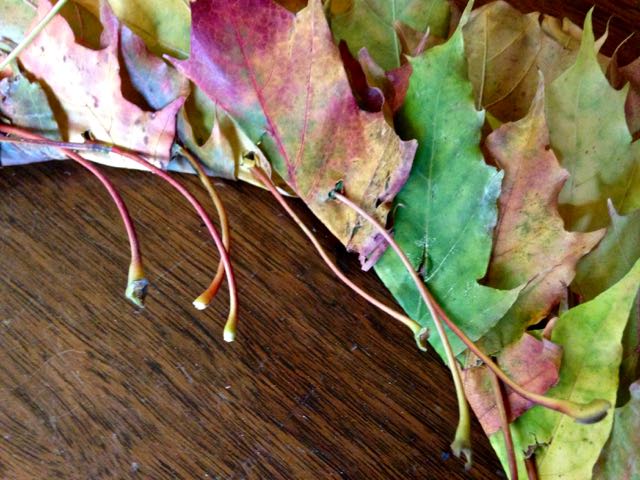
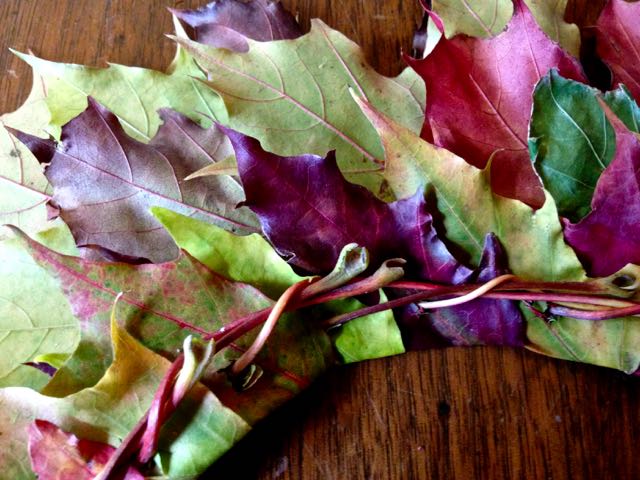
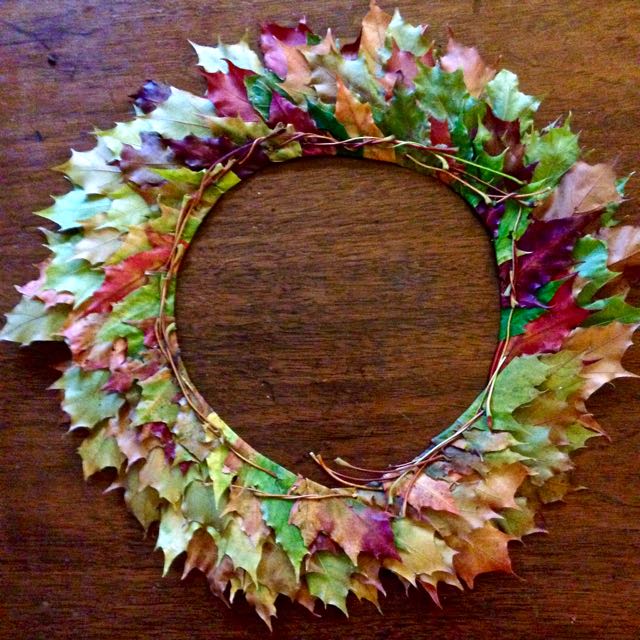
Here’s a closeup of my back side. Well, not my back side, but you know what I mean. Starting with any stem, wind each stem around the next one, twisting them towards the outside of the wreath, and tucking in stray ends. It’s like doing a french braid which, with two daughters, I had some practise with. Kari used needle-nose pliers (and her basketmaking craftiness) to captre her straggly bits. I used hands. You’ll see that some of my stems have popped out.
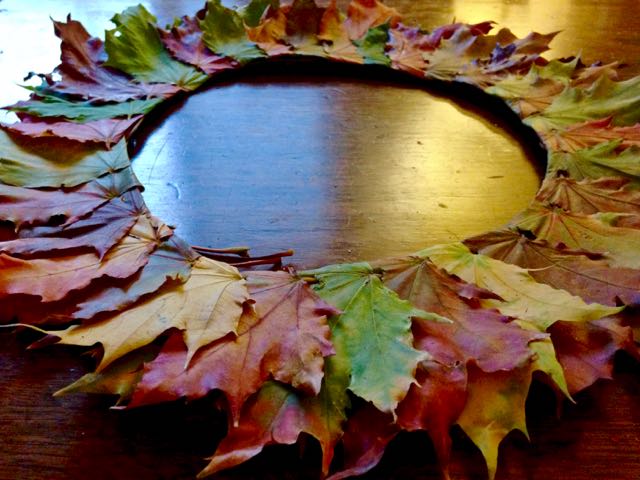
Kari’s small wreaths are sturdy enough for her to pop them on her dog Emma’s head like a leafy crown. Adorable. I wanted one large enough to hang on my front door. But the bad side of making a large wreath like mine is that it tends to sag under its own weight, especially when new. This can put strain on the weaving, pulling the wreath apart.
To solve that, to some degree, I arranged mine flat on the table, making it as round as possible, then weighted it down in the centre with a book. Overnight, it has dried out enough to hold its shape, and hold together.
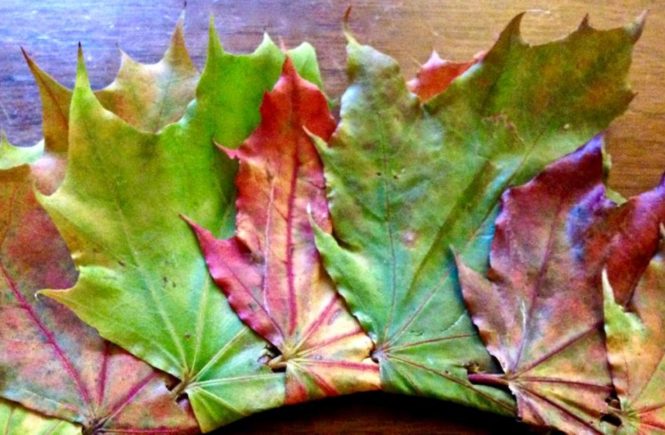
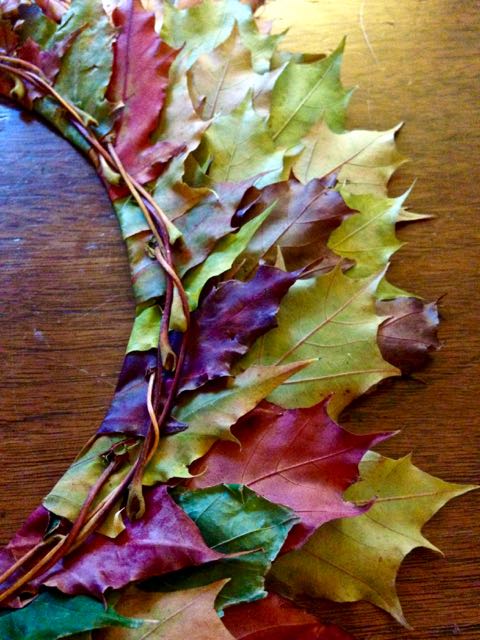
Don’t you love the patterns? It would be fun to make a collection of small wreaths, press them, then frame them. You might even use that old leaf collection trick: iron each leaf first between waxed paper (putting newspaper on top, to protect the iron) to preserve them. But I find that pressed dried leaves hold their colour for a surprisingly long time.
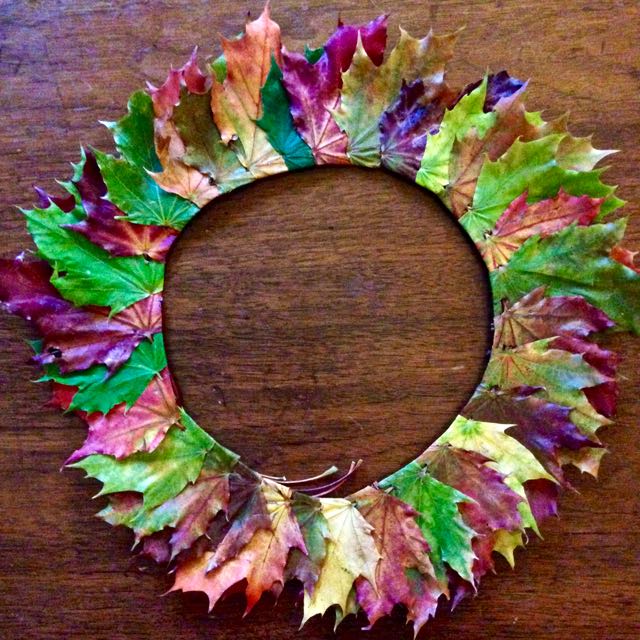
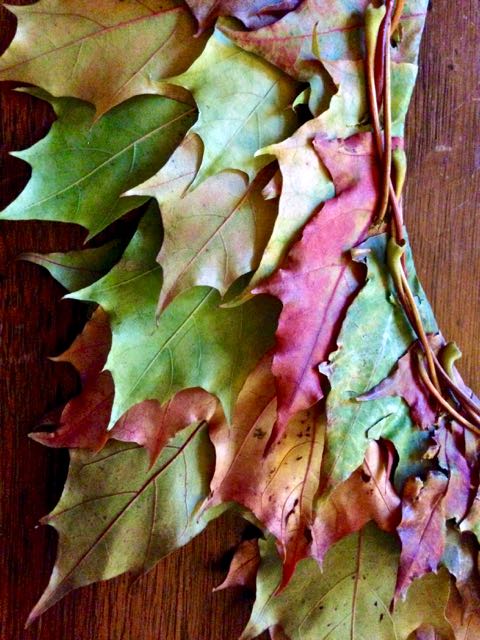
My finished wreath, complete with straggly bits, front and back. Never mind mistakes. Remember, the perfect is the enemy of the good. And, as beautiful as the leaves are from the top, I almost prefer the complexity of the flip side.
Gorgeous layering. And more closeups of the stems wrapped in the back. For me, tying in the stems was the trickiest step. But for my first time, I guess it gets a pass if you aren’t too fussy and don’t look too closely.

UPDATE: The wreath holds its colour and form remarkably well. Here’s how it looked a year later, and as we head into 2019 it’s still around.







2 comments
I agree, the backside is the most interesting ! Any preserving tips to keep this craft a little longer lasting?
That’s a good question, Jessica. As I mentioned above, one trick might be to wax each leaf first using waxed paper and a hot iron (protected by a sheet or two of newspaper between the iron and the wax). But perhaps other commenters might have better suggestions.